[TIL] Set up PlatformIO for development on the Adafruit QT Py RP2040
![Cover Image for [TIL] Set up PlatformIO for development on the Adafruit QT Py RP2040](/_next/image?url=%2Fassets%2Fblog%2Fpico-on-pio%2Fcover.jpg&w=3840&q=75)
After using many different ESP32 dev boards and building my own PCBs with a range of ESPs, I wanted to give the Raspberry Pi Pico a go. I fired up VS Code after assembling my dev board and started typing in the board name
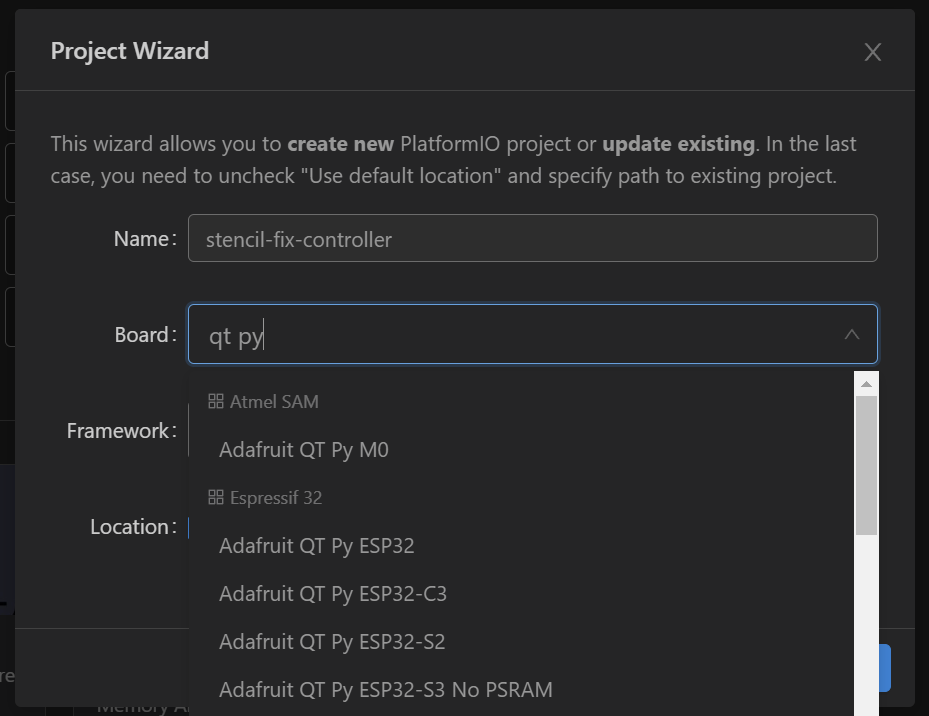
QT Py 2040. I was sure to find the board right away and get coding. Alas, only some unrelated boards showed up:

An explanation of what's going on can be found on the related GH issue . I followed the setup guide
from earlephilhower's
arduino-pico repository. Once done, we can take the platform.ini and update it to look as follows:
[env]
platform = https://github.com/maxgerhardt/platform-raspberrypi.git
framework = arduino
board_build.core = earlephilhower

[env:qtpy2040]
board = adafruit_qtpy
Note the board name adafruit_qtpy which I found by browsing the variants folder in the earlephilhower\arduino-pico repo.
One last hurdle was to flash the board for the first time. The Pico comes with native USB support and can emulate all kinds of USB devices. This is used to emulate a COM interface that allows further flashing of the board. However, that functionality is part of the flashed image. So we will need to get it flashed initially in a different way. After some figuring out, here are the steps that worked for me on Windows:
- Build the project with PlatformIO. It will generate a file in the project directory
.pio\build\qtpy2040\firmware.uf2. - On the board, hold down the
BOOTbutton while power cycling. Either by unplugging and plugging in the USB cable or by pressing theRSTbutton. - A new USB drive
RPI-RP2should show up. - Copy the
firmware.uf2onto the drive. - The board should reset and run the new code. It should also show up a new COM interface. 🎉